Taking them apart is rather easy, but requires some patience.
I decided to do the tail lights, side markers, and third brake light.
Before:
The third brake light is held in with 2 bolts.
The tail lights are held in with 4 nuts.
To remove the side markers, it requires taking the bumper partially off. This is done by removing 2 screws located inside the wheel well...
Also 1 bumper retainer located on the bottom edge...
And there are 2 nuts located on the inside of the trunk. These will make it easier to remove the side marker lights...
The side marker lights are held with 2 nuts.The taillight trim is held on by 3 screws along the bottom edge...
and tabs across the top edge...
Next was the time to mask the back-up light. To make this easy, I used a flashlight shining through the light bulb hole to mark the outline and trimmed the painters tape in the shape of the back-up lens.
Then I wet sanded the lenses with 2000 grit paper.
Before sanding...
After sanding...
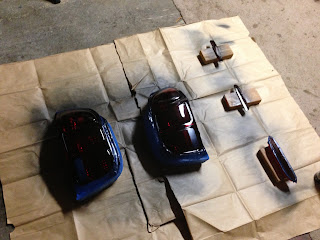
All masked and ready for tint after cleaning with thinner.
Tinted with 1 coat...
All done, used 2 coats of tint, 4 coats of clear...
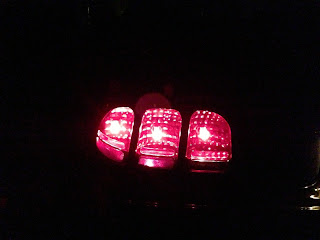
Before(top) / After(bottom)
Before(top) / After(bottom)


No comments:
Post a Comment